
Deploy a Shared Image Gallery image to Windows Virtual Desktop
In my previous post I showed how to create an image with Azure Image Builder. In that post we created a managed image, from which we could deploy a VM, or use in our Windows Virtual Desktop - Hostpool deployment.
Another thing we can do with Azure Image Builder, is push our image to a Shared Image Gallery.
Let’s first dig into what a Shared Image Gallery is.
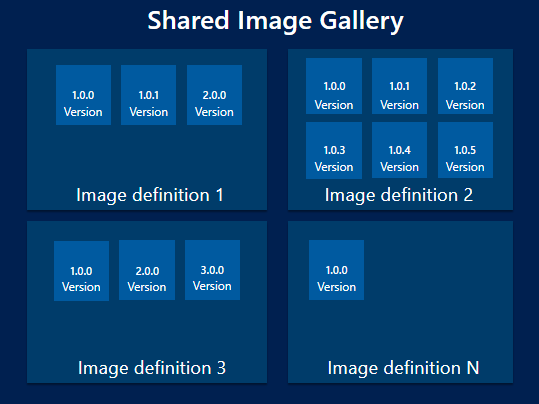
It is a Gallery in which you can define Image Definitions. You can for example have a Definition for each golden image that you use for a hostpool.
You can have an image definition for your helpdesk staff, with callcenter software and an incident management system, and another image definition for your system administrators with management tools deployed for example.
And each of your image definitions can have multiple versions. So you can have versioning for your golden images! With versioning a rollback to a previous image version will be easy!
Now, the downside is you can’t choose a Shared Image Gallery image version when deploying Windows Virtual Desktop. So, we have to create that option ourself.
But first we have to create a Shared Image Gallery, and enable Azure Image Builder to distribute to it.
Afterwards Azure Image Builder needs rights on the Shared Image Gallery to write to it.
Then we can distrubute images to the Shared Image Gallery.
Then comes some ARM editing, as we have to change the original ARM templates to include Shared Image Gallery.
And the final step will be to do the deployment based on the new ARM templates
Table of Contents
- Create a Shared Image Gallery (SIG)
- Assign Azure Image Builder rights
- Distribute image to Shared Image Gallery
- Edit the ARM template files
- Deploying Windows Virtual Desktop VMs from Shared Image Gallery
Create a Shared Image Gallery (SIG)
We start by creating a resource group to hold our Shared Image Gallery. I call it wvd-p-weu-sharedimagegallery-rg.
Then it’s a matter of creating our Shared Image Definition.
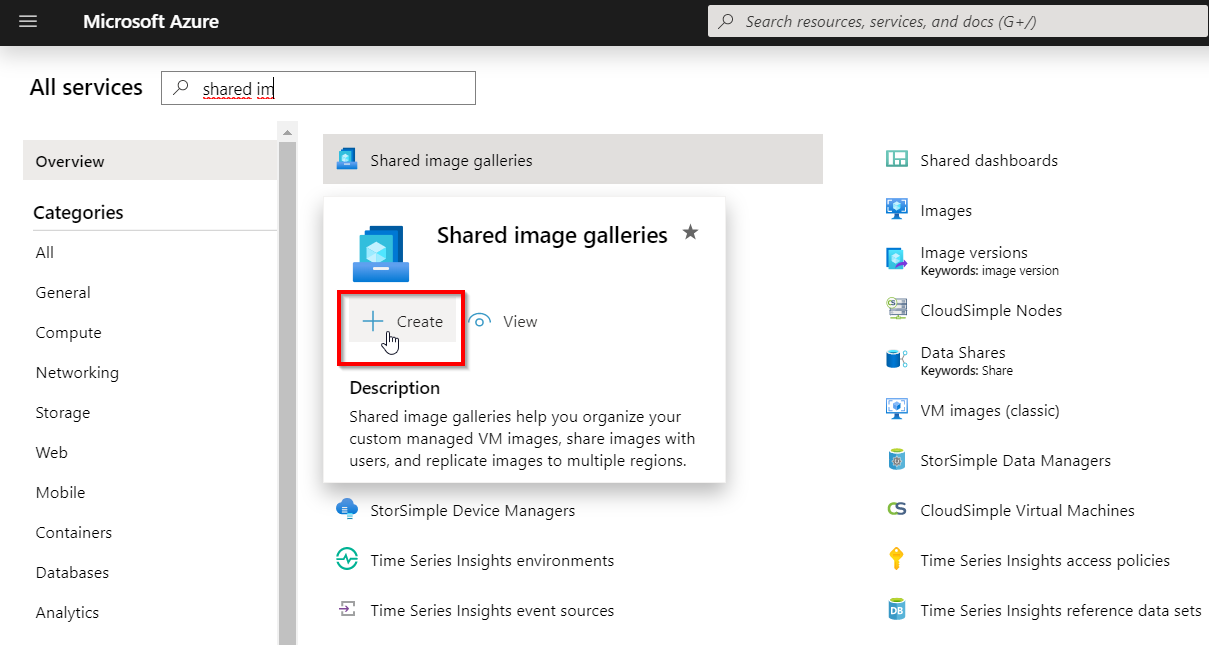
Go to All services and search for Shared Image Gallery. Hover over it, and select Create
After that select your new resource group, and give your Shared Image Gallery a name. I name it WVD_SharedImageGallery

When your SIG is done deploying you can go ahead and create one, or multiple, Image Definitions inside of it.
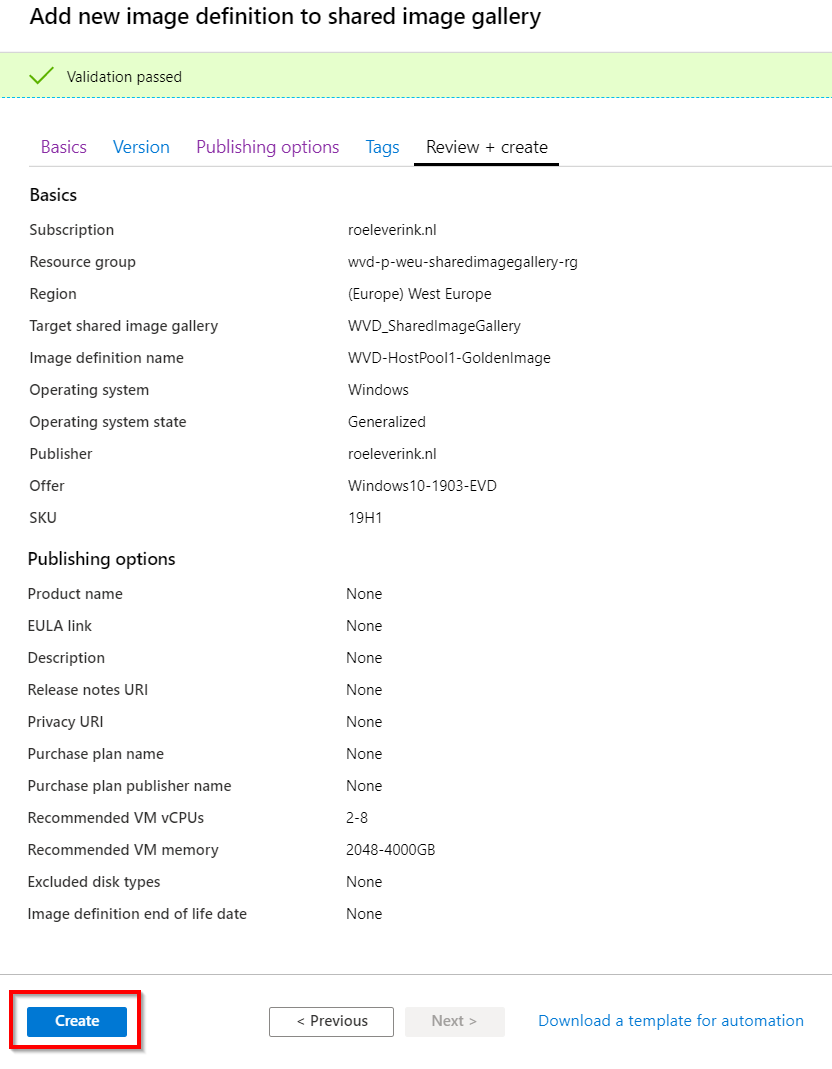
When on the Version tab, you can leave everything blank. We won’t be creating a version now. We will let Azure Image Builder do that for us.
When on the Publishing Options you can decide yourself what you fill in. This is just some metadata for other users who might use your images.
When done, we can go to the next step, and give Azure Image Builder rights to create images inside our Shared Image Gallery
Assign Azure Image Builder rights
Azure Image Builder uses a service principal to write to locations, as it doesn’t have rights on our SIG, we have to assign those.
You have to assign the App Id of AIB rights, which is always the following:
cf32a0cc-373c-47c9-9156-0db11f6a6dfc
I use PowerShell to assign Contributor rights to the resource group.
1
New-AzRoleAssignment -RoleDefinitionName "Contributor" -ApplicationId "cf32a0cc-373c-47c9-9156-0db11f6a6dfc" -ResourceGroupName wvd-p-weu-sharedimagegallery-rg
Distribute image to Shared Image Gallery
Now we have our Shared Image Gallery, it’s time to create an image with Azure Image Builder, and let it distribute to our Image Definition. In my previous blog I already showed how to create an image, but distributed it to a regular managed image. Now we just have to edit it, so AIB will distribute to Shared Image Gallery.
For that we have to edit the following part to the distribute section of our ARM template. You can find a prebuild template on my GitHub page
1
2
3
4
5
6
7
8
9
10
{
    "type": "SharedImage",
    "galleryImageId": "[parameters('SIGImageDefinitionId')]",
    "runOutputName": "SIGimage",
    "artifactTags": {
    },
    "replicationRegions": [
        "westeurope"
    ]
}
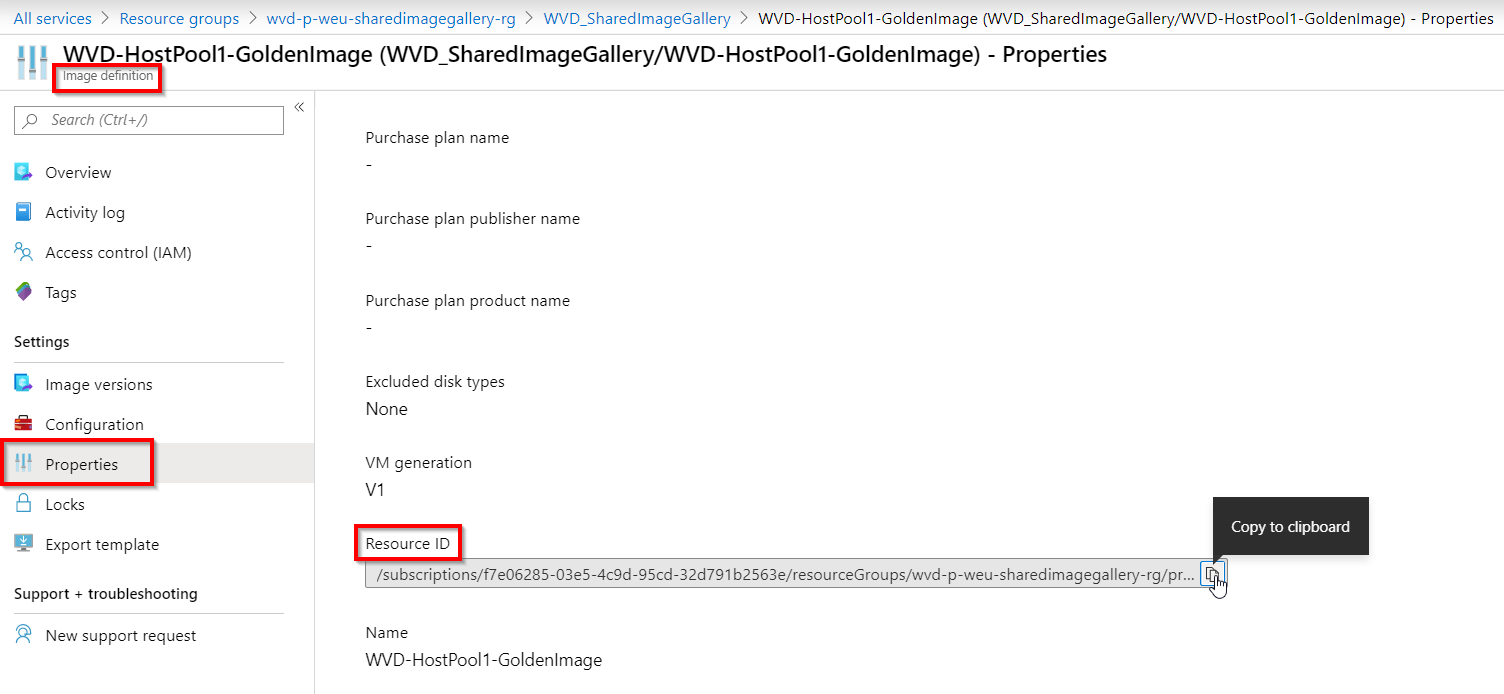
For the galleryImageId we have to get the Resource Id of our Image Definition, it can be found under the properties
As you can see, I choose westeurope as replicationregion. If you’re deploying VM’s from this image from multiple locations, you can specify more then one location here, for if you have hostpools in different parts of the world.
For the deployment I can use a parameter file, which is the preferred method. But for the sake of simplicity I’ll just pass my SIGImageDefinitionId parameter value on the commandline.
1
2
3
4
$TemplateUri = "https://raw.githubusercontent.com/Everink/AzureImageBuilder/master/Templates/AzureImageBuilde-SIG.json"
$ImageDefinitionId = "/subscriptions/f7e06285-03e5-4c9d-95cd-32d791b2563e/resourceGroups/wvd-p-weu-sharedimagegallery-rg/providers/Microsoft.Compute/galleries/WVD_SharedImageGallery/images/WVD-HostPool1-GoldenImage"

New-AzResourceGroupDeployment -ResourceGroupName RG_EUS_AzureImageBuilder -TemplateUri $TemplateUri -OutVariable Output -Verbose -SIGImageDefinitionId $ImageDefinitionId
After the image metadata has been made, we can start the image build.
1
2
$ImageTemplateName = $Output.Outputs["imageTemplateName"].Value
Invoke-AzResourceAction -ResourceGroupName RG_EUS_AzureImageBuilder -ResourceType Microsoft.VirtualMachineImages/imageTemplates -ResourceName $ImageTemplateName -Action Run
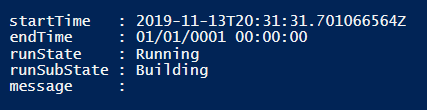
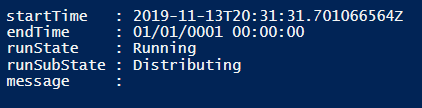
You can check the status of the build with the following command
1
(Get-AzResource -ResourceGroupName RG_EUS_AzureImageBuilder -ResourceType Microsoft.VirtualMachineImages/imageTemplates -Name $ImageTemplateName).Properties.lastRunStatus
The state should go from Building, to Distributing, to Succeeded. With me it took a total of 1 hour, as can be seen in the screenshots.

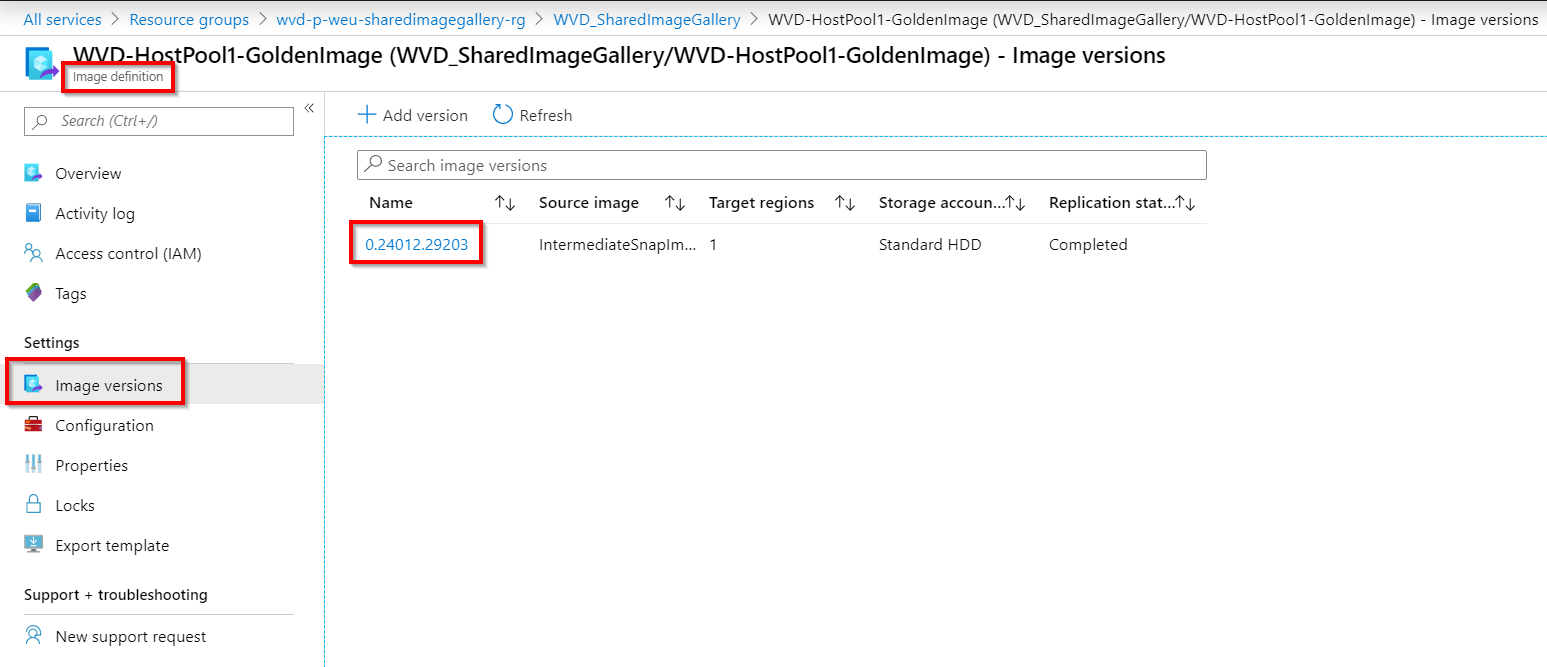
If you look in the portal afterwards, you should see an Image Version. AIB assigns a random version number, but newer versions should always be a higher version then the previous ones.
Edit the ARM template files
Note: This step is some technical stuff that explains what I changed, you can skip this if you just want to deploy from your Shared Image Gallery using my prebuild ARM template files.
Now we have our image in the Shared Image Gallery, we have to edit the templates to deploy a VM from it.
Normally when you deploy a hostpool from the portal, you get this wizard in which you fill out all configuration data, then some magic happens, and you get a new hostpool with some VM’s in it.
This magic isn’t really magic at all, because what happens is that in the background an ARM template gets deployed to your WVD resource group. And all that configuration data is inserted as parameters to that template.
You can find that template on GitHub: https://github.com/Azure/RDS-Templates/tree/master/wvd-templates/Create%20and%20provision%20WVD%20host%20pool
The ARM template is actually 1 main template, and a few other nested templates, based on what kind of image source you want. Either a gallery image or managed image for example. And based on that input data, it selects the nested template.
So what we have to do, is edit the templates a little bit to our needs.
The main part to edit has to be the imageReference, where normally this references an image from the gallery, now it references an image from our Shared Image Gallery. Next to that we also add some parameters to determine the resource ID of the Shared Image Gallery.
1
2
3
"imageReference": {
    "id": "[resourceId(parameters('SharedImageGalleryResourceGroup'),'Microsoft.Compute/galleries/images/versions',parameters('SharedImageGalleryName'), parameters('SharedImageGalleryDefinitionName'), parameters('SharedImageGalleryVersionName') )]"
},
To summarize the changes that I made:
- Add my parameter file: mainTemplate.parameters.json
- Added a new nested template file for sharedimage gallery deployments: managedDisks-sharedimagegalleryvm.json
- Added parameters for the SIG resource in the file: mainTemplate.json
- Added all SIG parameters also to the file: managedDisks-galleryvm.json, for consistency
To check all the changes, it’s best to look at the pull request on GitHub, to see everything that’s added to the original Microsoft template.
Deploying Windows Virtual Desktop VMs from Shared Image Gallery
Now, this previous step was some in-depth ARM template editing. If you’re not into all that, that’s fine. You are maybe more interested in how to use it, and that’s not too hard.
First you have to download 2 files from my GitHub account:
After that you have to edit the parameters file to your environment. It are basically the same parameters that you enter during the portal wizard.
Some things that are different is that I used a keyvault to store my passwords, so they aren’t in plaintext in my parameter file on the internet. If you only save the files locally on your own pc, you could just use plaintext passwords, but this isn’t recommended for production environments.
An explanation of the parameters can be found in the mainTemplate.json file, or my GitHub page
After you are done editing the parameter file, you are ready to deploy the VM’s to your hostpool!
For that you have to execute the following PowerShell commands
1
2
3
4
5
6
7
8
9
10
11
12
13
#Setup variables
$ResourceGroupName = "<WVD resourcegroupname>"
$TemplateFile = "<Path to mainTemplate.json>"
$TemplateParameterFile = "<Path to mainTemplate.parameters.json>"

#Install Module if you don't have it yet
Install-Module Az -Force

#Login to Azure RM
Add-AzAccount

#Start the deployment
New-AzResourceGroupDeployment -ResourceGroupName $ResourceGroupName -TemplateFile $TemplateFile -TemplateParameterFile $TemplateParameterFile -Verbose
This will take about 15 to 30 minutes to deploy, depending on the amount of servers you deploy.
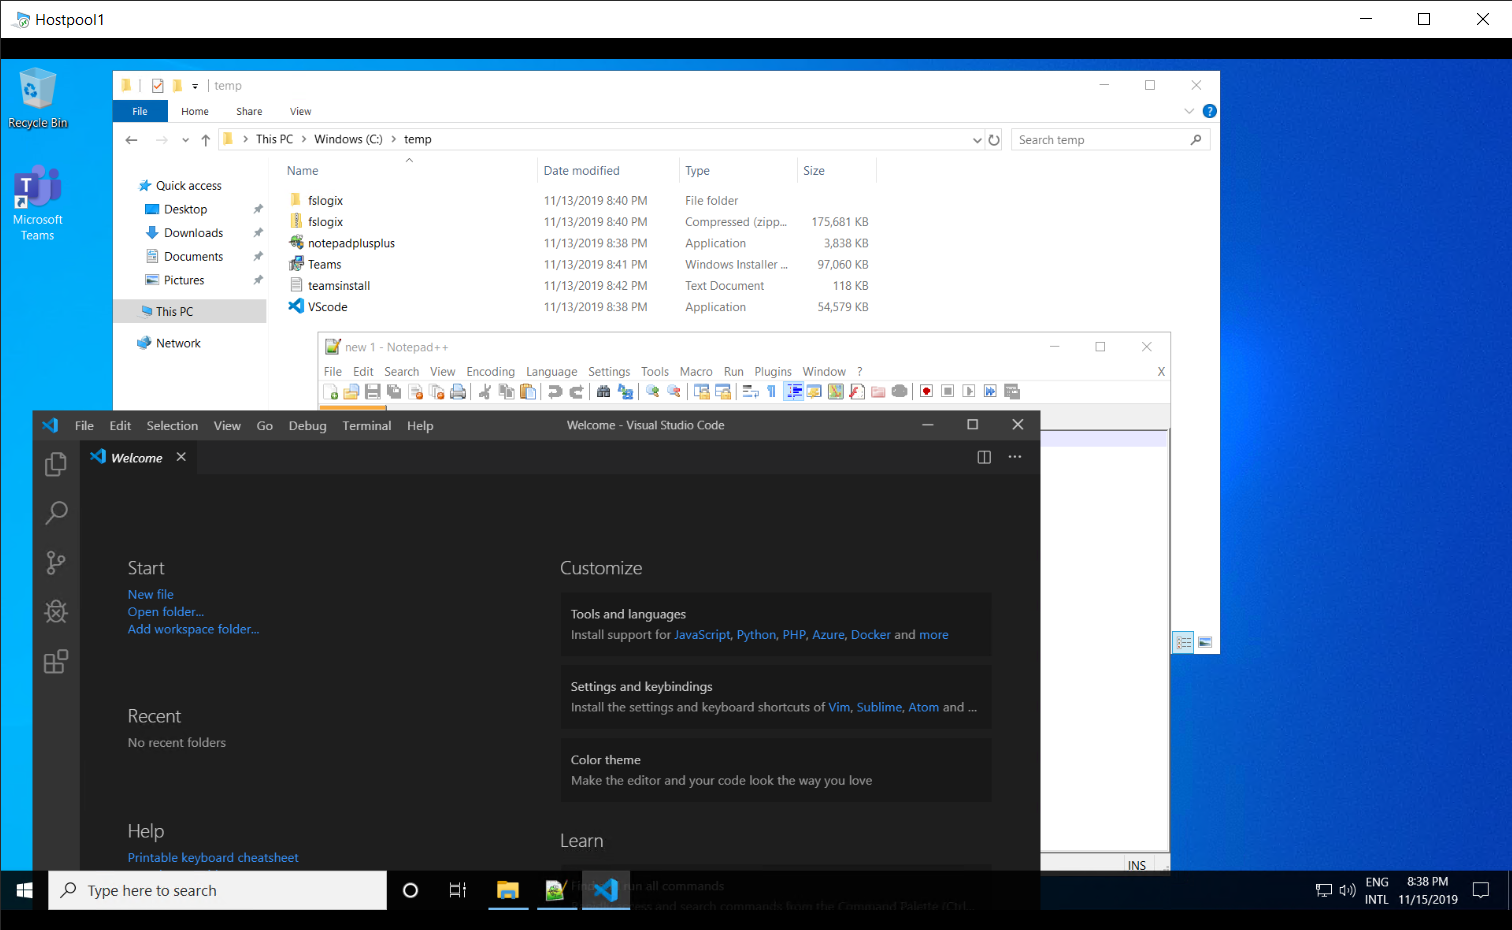
Afterwards, you should be able to login, and have your desktop, with all applications and settings like you build it with Azure Image Builder.
If you now want to rollback to a previous image, the only thing you have to do is delete your VM’s from the portal and WVD backend, and do the deployment again, with only changing the version of your image!