
PowerShell Function app behind Azure AD authentication
Every year, me and a couple of cousins of mine pick a day, and we game all day. Usually it’s an old game that everybody can play. Like Command & Conquer: Generals.
Back in the days we all came together and linked our PC’s with a switch, and we were good to go. But these days we’re grown up and living miles apart, so we usually link our PC’s over the internet.
With an old game like that, connecting over the internet doesn’t work that well or isn’t supported at all, it needs a LAN. So I build an pfsense server in Azure that supports Layer 2 broadcast messages over the VPN. This all works really well.
To reduce my Azure spending I have an auto shutdown schedule configured. It shuts down my VM at 23:30, and it stays that way until turned on.
Sometimes my cousins want to game while I have to work, or have other stuff to do, and I don’t have time to turn on my Azure VM, and of course, I don’t want to give them access to my subscription either.
There is a solution for my usecase:
Azure Functions
Azure Functions for PowerShell core is now General Available, so its fully supported. And it gives me the opportunity to secure it behind Azure authentication.
Table of Contents
- Setup
- Creating the Function App
- Creating a Managed Identity
- Creating the first function
- Creating the second function
- Add AzureAD authentication
- Group or user based access
1. Setup
For this we will need 2 functions
- One function will be the main website, it should also show the status of my VM, it will contain a button that will trigger my second function
- My second function will start my VM. It should also give some status back.
Both functions can use the same Function App. They will both have to be secured with Azure AD authentication, so not everyone can start my VM.
With this setup done, lets start building
2. Creating the Function App
We can start by creating a resource group to hold our functions.
I call my resource group: RG_WEU_SelfServiceFunctions, as it’s located in West Europe.
After that we can go to: +Create a Resource -> Search for: Function App -> Create
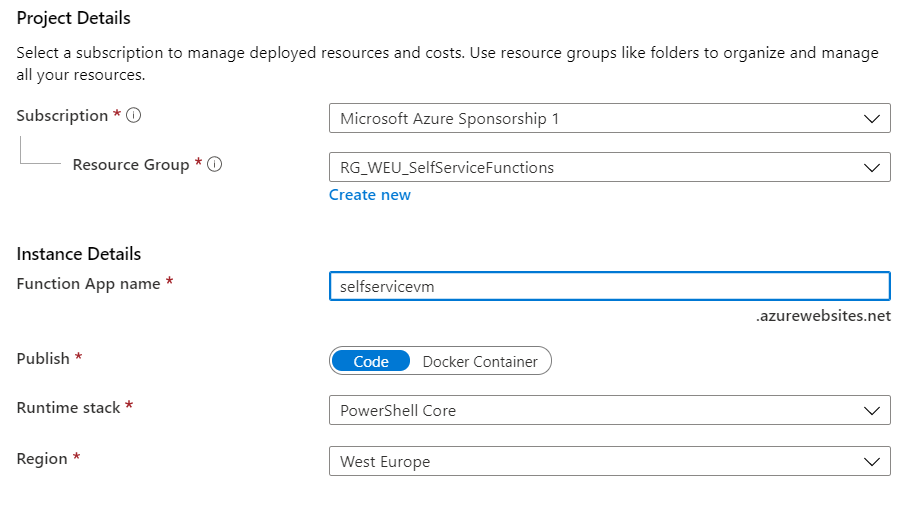
Select a subscription. And select your resource group that you just made.
Give your function app a name, it should be globally unique
For Runtime stack choose PowerShell Core
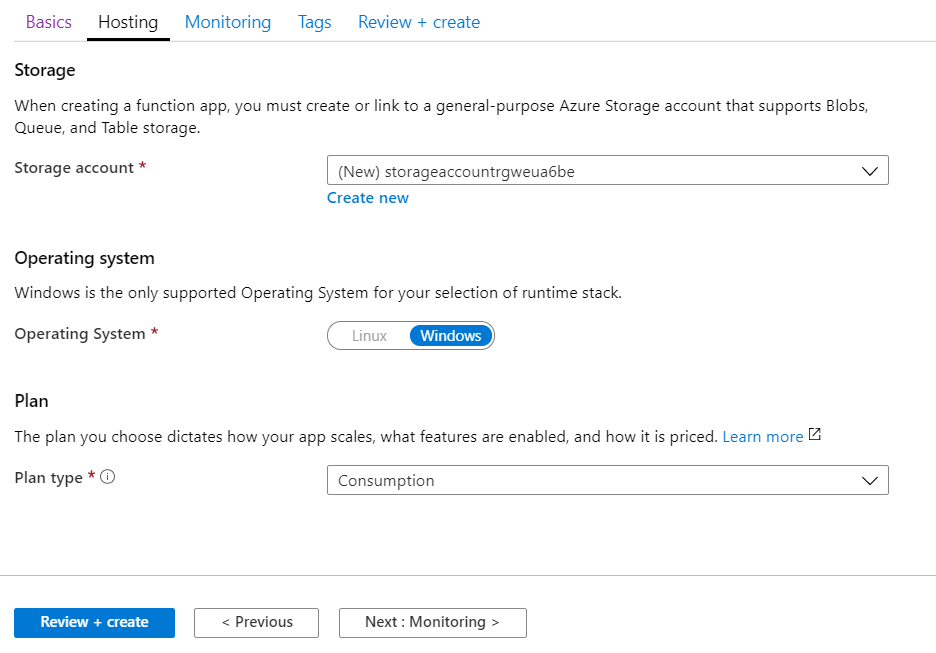
On the next page you can create a new storage account, or choose an existing one.
For the plan I chose Consumption, depending on your usecase you can also choose another plan.
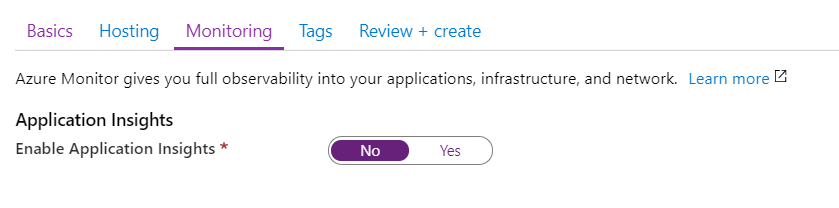
As I don’t need any monitoring I turn application insights off. This is only for my personal use, so I don’t need any monitoring.
Then on the Review + Create tab. Choose Create
3. Creating a Managed Identity
To determine the status I can use the Az PowerShell module, the Az module is supported right out of the box in Azure Functions, so I don’t have to install it first. But I do need an account to authenticate to my subscription.
For this we can use a managed identity.
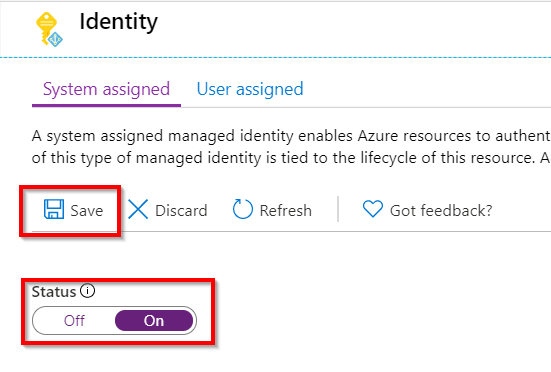
The managed identity is created on the Function App level, so it’s for all our functions in our Function App. Go to the function app -> Platform features -> Identity
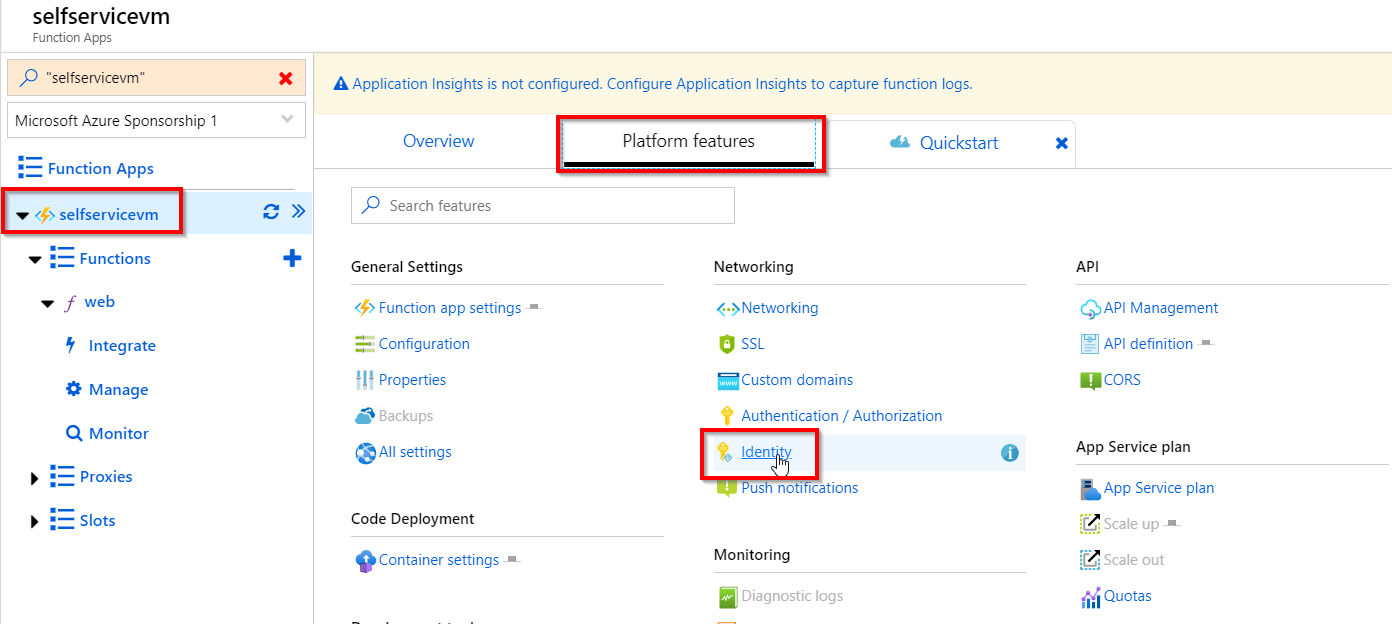
Change the status to On and then click Save
Our Function App now has a managed identity, but it doesn’t have any rights in our subscription. For this I assign rights on just the resource group, but depending on your function you can also assign rights on the subscription level.
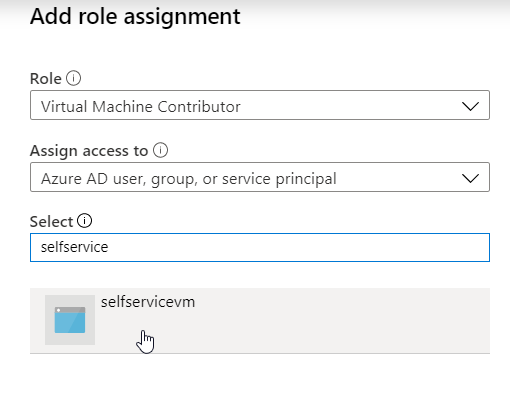
The managed identity has the same name as your function app. Select it, and click Save
4. Creating the first function
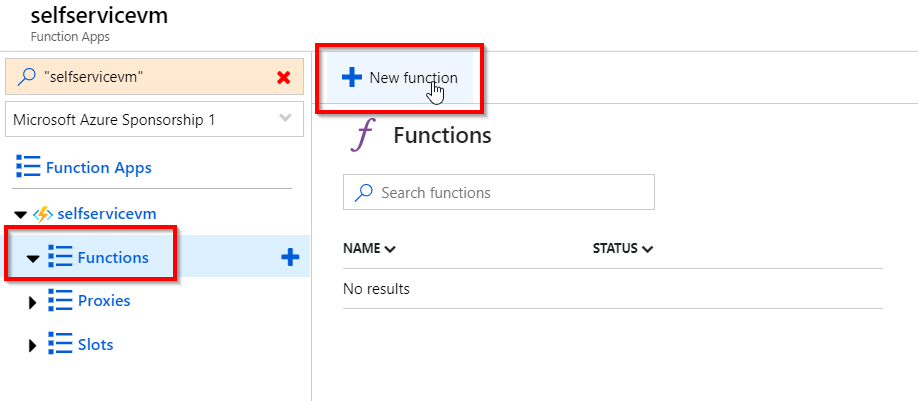
Once your Function App is ready, and you have your managed identity, you can create a function with the quickstart by clicking on the + sign next to functions.
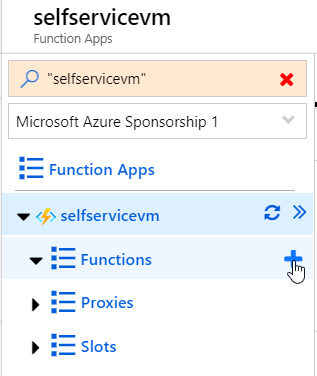
The downside of the quickstart is that it will give your function a standard name. If you want to name your function yourself, click on Functions and then + New function
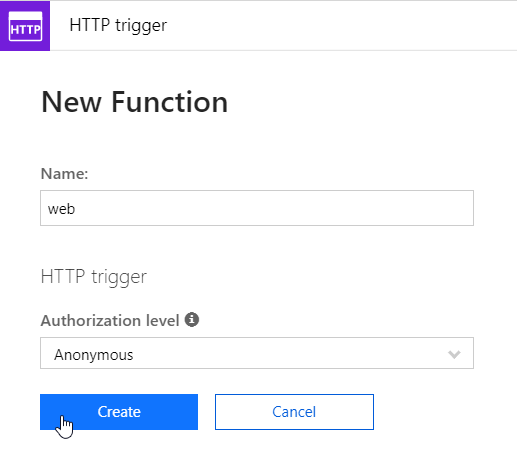
As my first function will be a website, the trigger is an HTTP trigger, it will be a simple GET request like any website, so click HTTP Trigger
After that you can give your function a name, and authorization level. I chose Anonymous, as I will add Azure AD authentication later.
We get thrown into a webeditor to edit our function. As I want to show a webpage, I have to build some HTML code, and insert some status about my VM. As we created a managed identity we can just use Az commandlets, and it will use the managed identity to authenticate. For the code, it can be found on my GitHub repo.
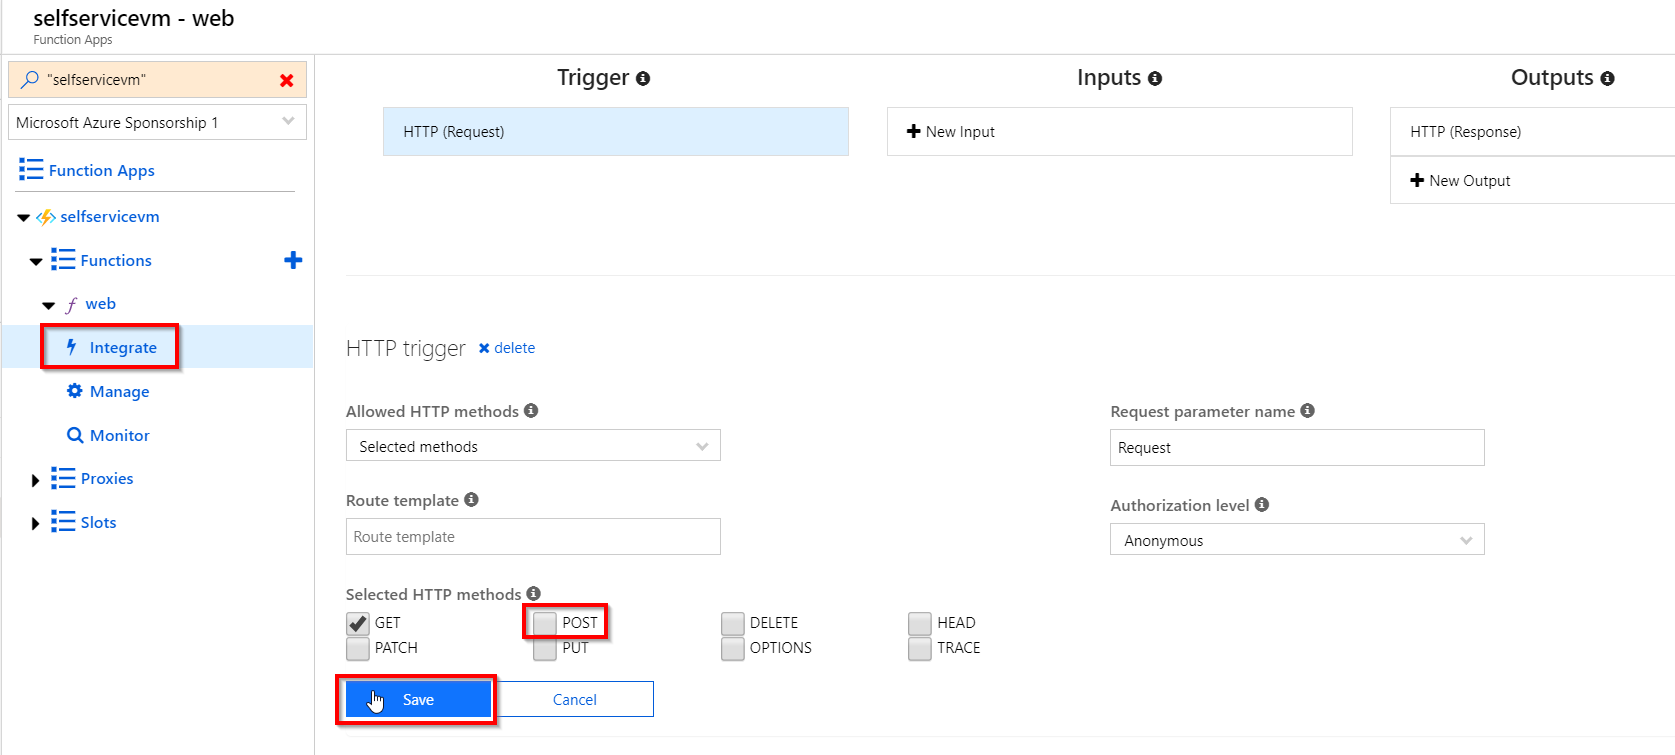
There’s only one more thing to do. Currently my function supports both the GET and POST method. We can disable the POST method.
This is done on the Integrate section. Deselect POST, and click Save
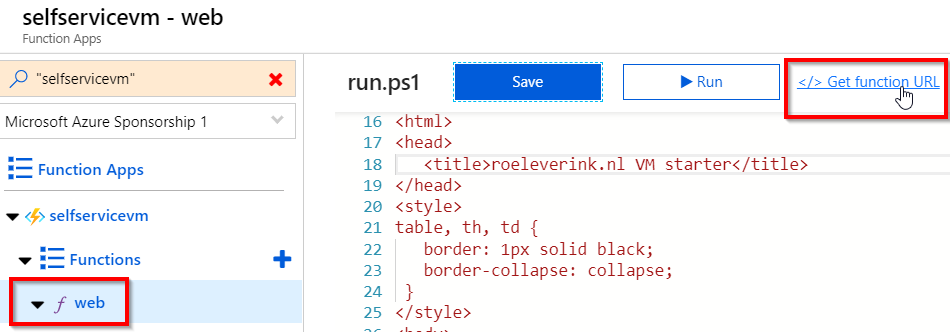
To test your function, you can go to the webpage. It’s in the form of:
https://<functionApp-name>.azurewebsites.net/api/<function-name>
You can also find it in the interface on the following location
5. Creating the second function
As you might have noticed, in our first function we call the second function with a POST method. It doesn’t really contain any data, but you could build it like that if you would want to (like selecting which VM to start for example).
The procedure for the second function is the same as the first function. There are a few exceptions:
We name it vmstarter
Allowed method is now POST, so we have to uncheck GET under Integrate
That’s it. It uses the same managed identity as our first function, as they both are using the same function app.
For the PowerShell code, you can use and edit the code on my GitHub repo.
Now it’s time to test the function and see if the VM will start!
6. Add AzureAD authentication
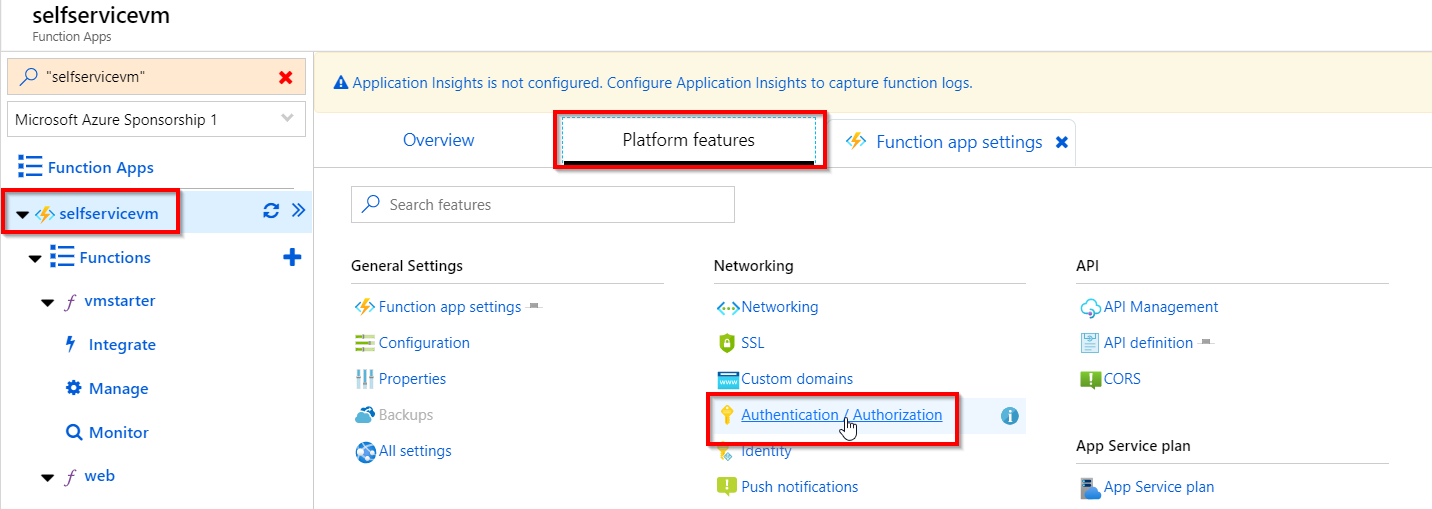
As I don’t want my functions exposed to the internet I can add Azure AD authentication. This can be enabled on the Function App level. Go to your function app, and click Platform features -> Authentication / Authorization
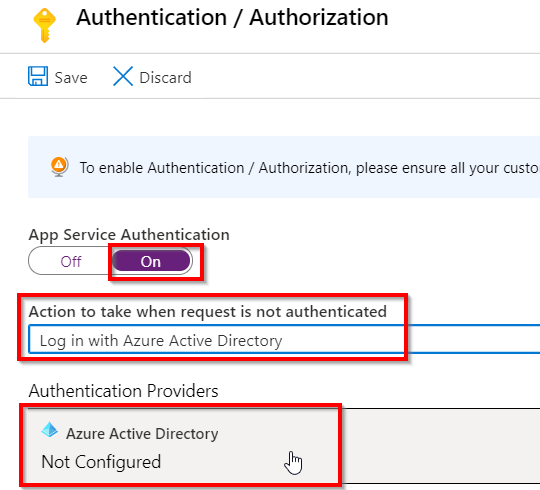
Turn On App Service Authentication
In the dropdown menu, select Log in with Azure Active Directory
This will deny any unauthenticated request to my functionapp.
We will have to configure Azure AD, so click on Azure Active Directory
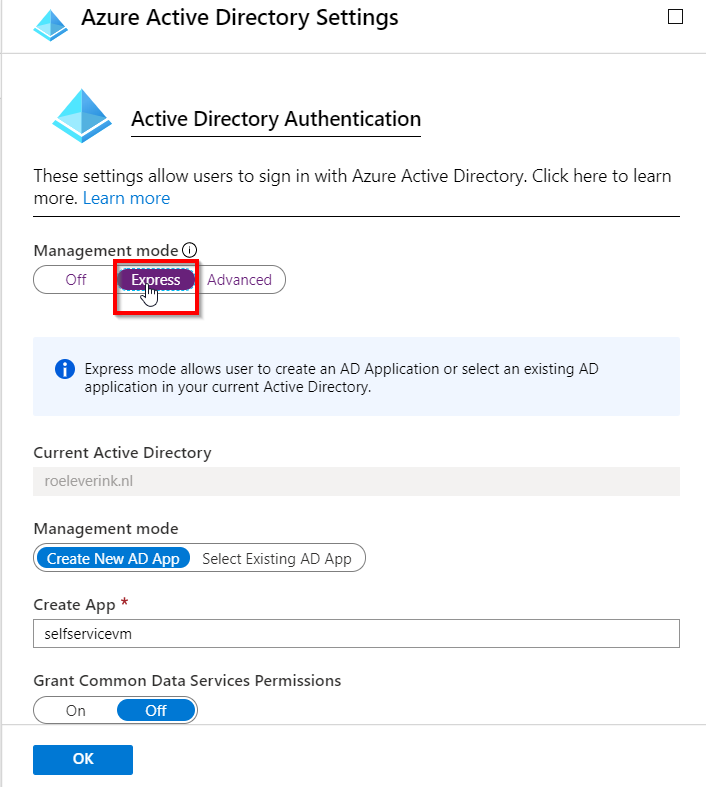
For Management mode, click Express, and click OK
This will create an app registration in Azure AD, called selfservicevm
Click Save again.
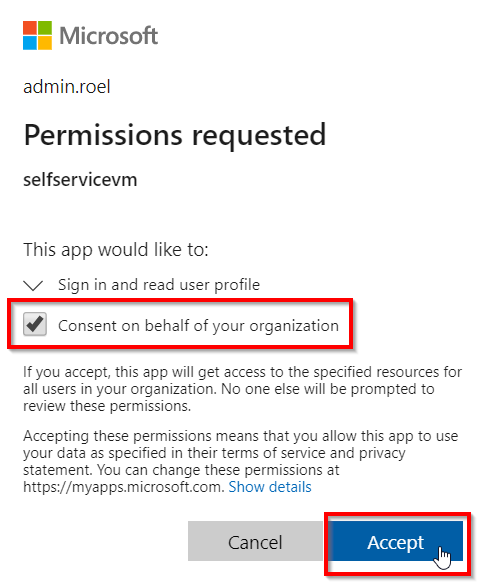
This will enable Azure AD authentication. If you login to the function app again, you will be triggered to login. Because our app wants to read the profile, everyone has to give consent, or you can give consent on behalf of your organization with a global admin account.
Now all users can login to your function app!
In my case, I can invite my cousins as guest users to my Azure AD, so they can also use this with their own Microsoft accounts.
7. Group or user based access
If you want to control access to your application based on group membership or to single users, that is also possible. The selfservice app can be found under Enterprise Application. In the properties section User assignment required is now set to No. This means everyone in our tenant has access. This can be set to Yes.
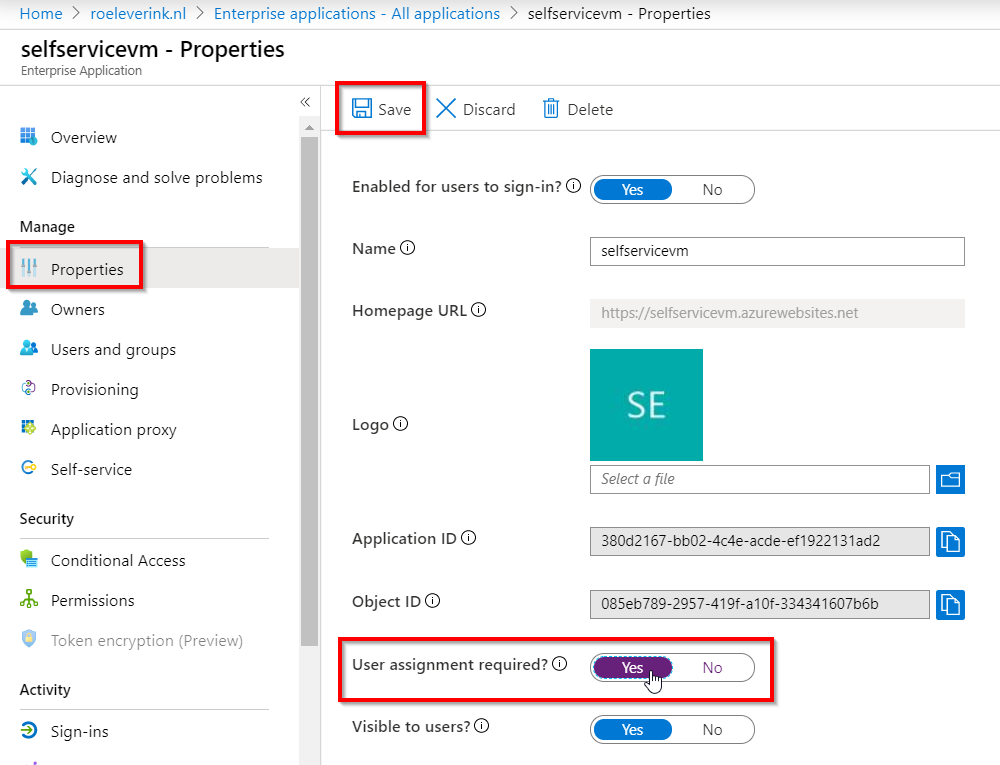
After that go to Users & Groups and select the users or groups that are allowed to access the application.
You can edit this to your own needs of course. You can let groups of users like your developers select VM’s to start / stop / reboot. Or you can even do complete ARM template deployments from inside your functions.